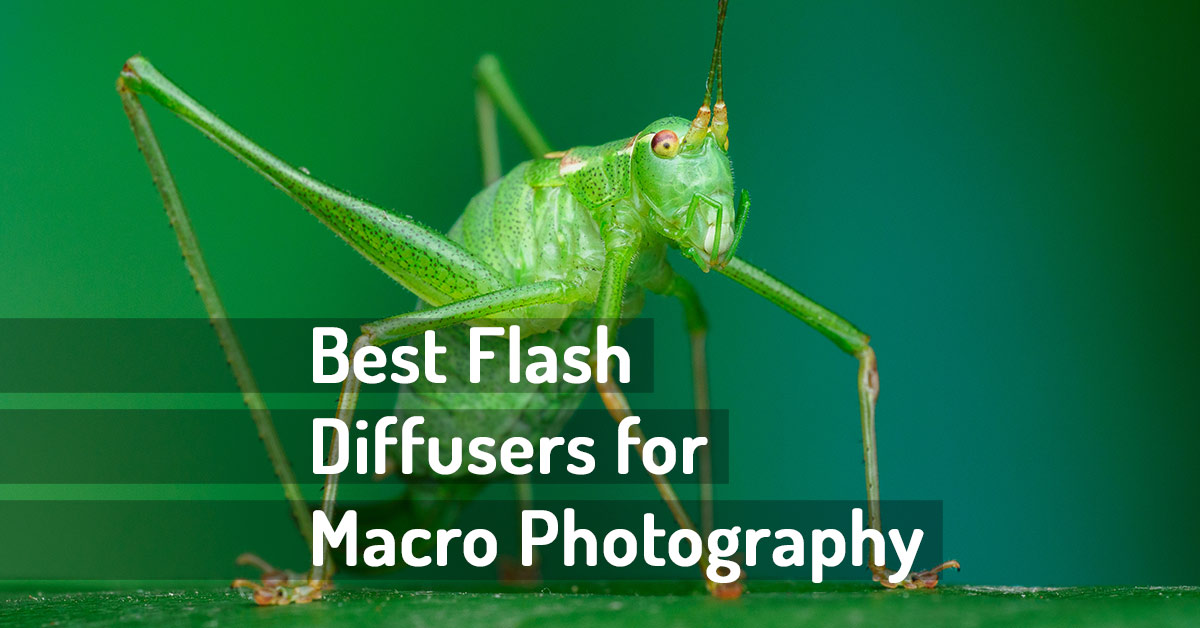
Get to know your lighting needs by experimenting with each kind of light on targets at the distance that you will be shooting. The target could even be a blank white wall or backdrop. Learn the size and shape of the resulting light from your flashes at different power settings, with and without modifiers, etc. You may need to take actual pictures of these light spots so you can compare the results easier, but with digital cameras you can erase them later. Then use this knowledge to help you choose the lighting type, position, and amount that you need for your desired shots. If you want totally even and shadow free shots, ring lights will usually do best, but best only if the subject is closer than about 1-5'. , Diffusion materials between the light and subject help, but the ring lights only work best for me when doing very close-in shots and I want zero shadowing. Some jewelry and insect shots are what I usually choose ring lights for.
Multiple speedlites will be better if you like some shadowing in the shots, like is usually preferred when doing portrait and sometimes jewelry type shooting, since some light shadows in the right places can infer depth and interest in the subject. Use the lights that suit your kind of photography best. Experiment with positions, diffusers, reflectors, etc. to get the result that you are looking for. Then tuck this information away in your head for the next similar shoot. If your memory isn't all that good keep a notebook handy and record your results, sometimes even drawing diagrams with distance and position measurements, to help you remember by referring back to it in the future.
You have to know what each of your lights can and can't do for you, and then chose which type works best for what you are shooting, be it tiny insects or beautiful women, or fancy cars, etc. What camera you use is of less importance than getting the lighting right, as long as it has the lens and adjustment capabilities needed for the kind of shots that you want to take. All of this is learned from experience. There is no "one size fit's all" and no video or book that will really teach you these fine details to get the best shots. It's a learning and experimenting process. I've spent nearly 70 years learning photography and lighting, and I'm still learning, since new lighting and camera technology keeps raising the bar. What was perfect 30 or 40 years ago is trash by today's standards, but great was indeed great for us back then too, since very little was available to let us do any better. The easiest part of photography is learning how to use your camera. Getting truly great shots requires a good knowledge of light and how it behaves, be it from the Sun, reflectors, or your photography lights. When using reflectors, it's best to hold them high so the reflected light will angle down on the subject. It's more natural for light to come from above, like from the Sun or ceiling lights. Only light from below if low levels are needed to reduce undesired shadows like neck and chin shadows, but keep this low and just enough to fill the need. Low light that's too bright and your subject will have a zombie appearance.
There have been times when I have waited most of the day for the Sun to get into the perfect spot for a special landscape shot that I have wanted, and then times when that perfect shot time arrived, only to have a cloud cover the Sun at that otherwise perfect time. I'm convinced that God does have a sense of humor. Fortunately he does let me win, sometimes.
Charley


")

")


