Simon's Model Train Project - Photo Diary

mr.si

Suspended / Banned
Messages
1,164
Name
Simon
Edit My Images
Yes
Hi All,

I have decided to create a model train set up in my loft.
This is going to be done properly, having read up on how to do it on a model train forum.

I'm only at the very early stages at the moment.

My stages are going to be something like the following:

1. Install Joist Hangers
2. Install 3"x1" timber battens between joist hangers and any required noggins
3. Run power supply cabling between timber battens.
4. Install Plywood over the Battens
5. Install Corkboard over the Plywood (to dampen the train noise)
6. plan and lay out track
7. Drill holes in Plywood for "Dropper Wires" (so each piece of track has its own solidly connected power supply)
8. Install Track with Dropper wires
9. Begin installing scenery stuff, starting with "Ballast"


My loft is split in to 3 main bits, the middle part being the highest standing area as it follows the apex of the roof.
The the plan is to have the trains going around the middle 3rd of the loft at a sensible sitting height, so that when one enters the loft, they enter into the middle of the train area (difficult to explain).


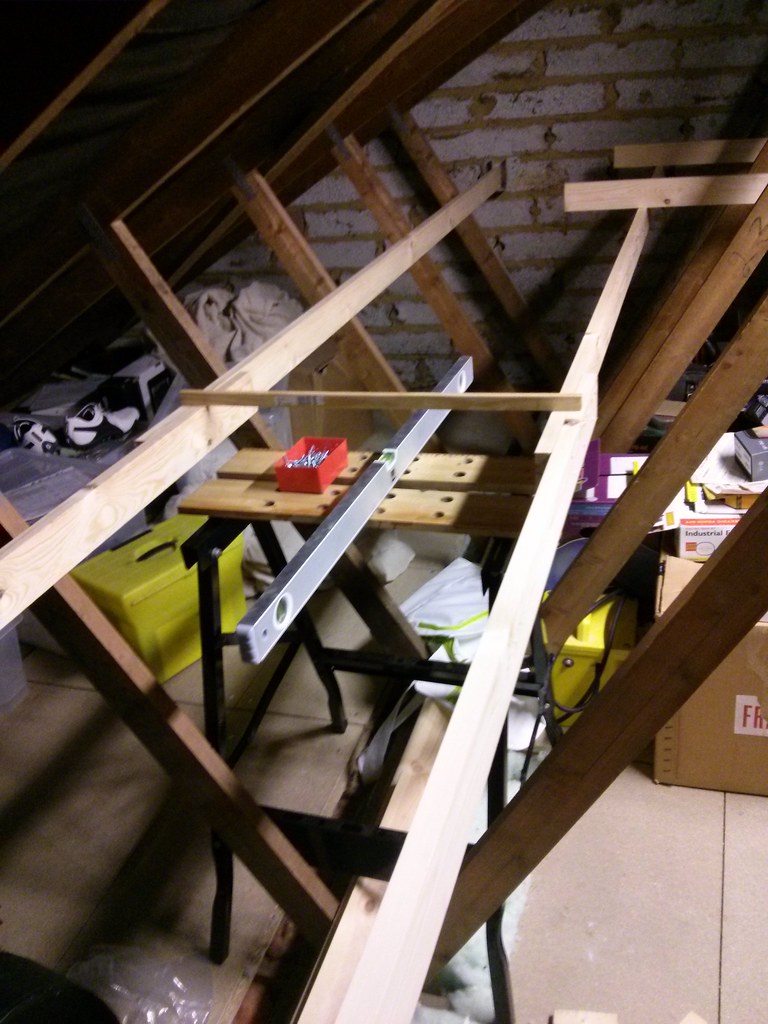
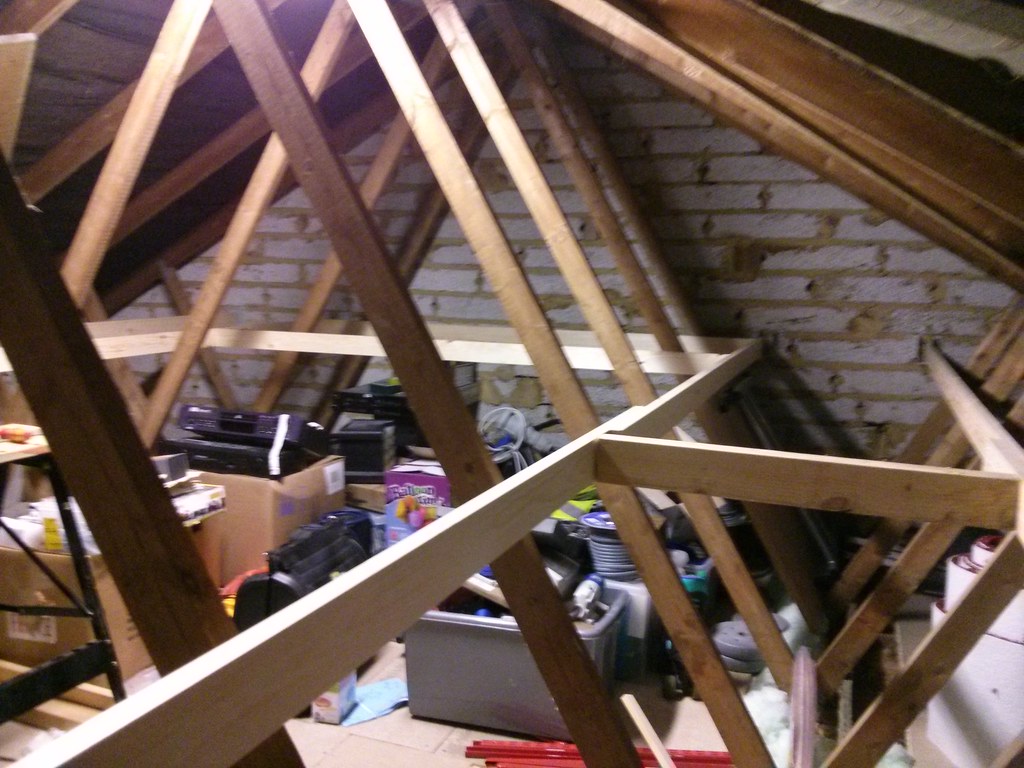
Because there's a lot of stuff in the loft, I didn't want to add any major extra weight to the joists, so I'm mounting the frame by use of joist hangers on the walls to support the majority of weight.

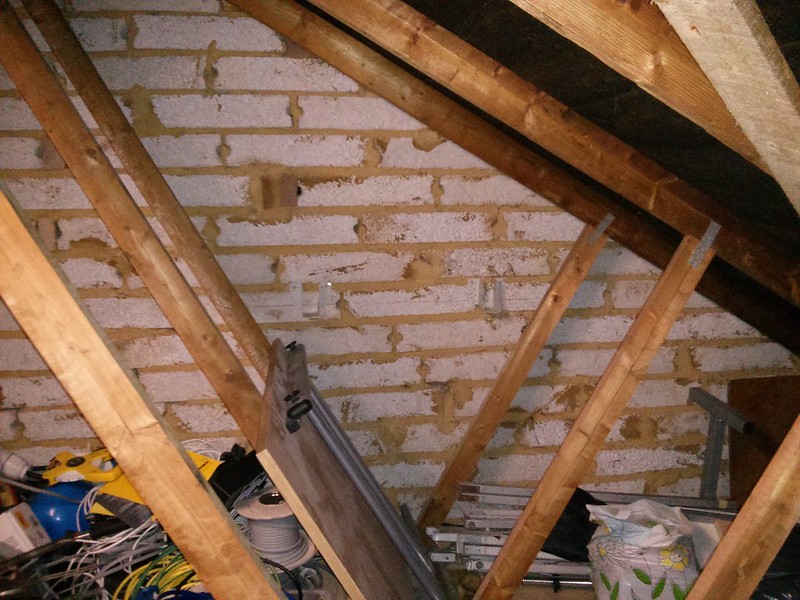
So Far, all I've done is stage 1 as Payday hasn't happened yet and they were quite cheap. I've mounted them about 0.85m high above the loft floorboards

Only have some photos taken with my phone at the moment and they're not that exciting as they're just joist hangers!


Stage 1 Photos:


Joist Hangers 2
by Mr_Si, on Flickr


Joist Hangers 1
by Mr_Si, on Flickr


Joist Hangers 3
by Mr_Si, on Flickr


Joist Hangers 4
by Mr_Si, on Flickr


To be continued...
 
What gauge will the railway be? Dad "got into" N gauge a few years before he died and built a couple of 10' long layouts with assorted tunnels, bridges, sidings etc. I helped him out with some of the fiddlier bits like building near scale working signal lights and level crossing lights - it was the conversion of some of the locos to DCC that was a bit tricky (well worth the effort though!)
 
It will be the OO/HO gauge, sorry, forgot to say!

N Gauge is nice and small, I know someone who does N Gauge stuff.
It's definitely a project of love.

I no longer race R/C cars (I used to do that in Horsham) so as I'm now a couple of years into my 30s, trains is allowed :)
 
  • Like
Reactions: Col
munching_out.gif
 
I'll be watching this too.
My favourite toy when I was 5 or 6 was my electric train set. I used to have it all laid out on my mum's kitchen table and make tunnels and platforms out of books.
I'd love to have the time to play around with a grown up version :)

(Yes, I know it wasn't a very girly toy, but I loved it anyway :p)
 
Glad there's going to be some interest!
I can't promise it will be a quick one, but hopefully there'll be some progression with building the base-board soon, maybe even this weekend! (One can hope)
But there'll be a baby in our house in a month (I reckon), so it may be put on the back burner whilst I get to know my child.
 
Well, there are loads of things like buildings and rolling stock that can be bought in kit form, so you can still indulge the hobby while being in sight of the wee'un! Can't remember the places that had the best deals on locos, rail etc and it was a few years ago that Dad was buying lots so it's probably changed now anyway!
 
If you've not yet reached the stage of laying down your plywood yet, you might like to plan your track first, so that you can leave gaps where the 'ground' is going to be lower than the trackbed (even Norfolk's not that flat, and nothing helps the sense of scenery more than a landscape of varying levels). Railways have to be pretty close to level because of the nature of their traction, but it doesn't stop them crossing uneven terrain with embankments, cuttings, bridges and viaducts.

Just a thought.
 
cant wait for some progress pics 4 years ago i dismantled my end to end layout and sold everything on.once you get the baseboards down you need to plan your layout carefully i used a lot of peco flexitrack its great for long sweeping bends and looks more natural than set track

any ideas what era and theme your going for.

oh enjoy the build and take your time ;)

oh enjoy the ballasting its very theraputic :eek:
 
Last edited:
Not on N gauge it isn't!
 
i done the ballasting on my fathers american n gauge layout it cooked my head fair play especially the 26 sets of points.

a little tip when you start ballasting put a few drops of washing up liquid in you pva mixture it helps a lot.
 
Call me Mr Thicky but what is balasting and why do you need it. I guess It's something to do with levelling the board? I used to run )) gauge when I was a kid and really liked it. I picked up a magazine in Sainsburys today and was shocked at how much support there is for this hobby.
 
Ballast is the filling under the tracks, modelled using sand which is held in place (usually) with a droplet of watered down PVA glue. TBH, it's purely aesthetic on model railways but does (I'll admit!) add an extra dimension to the finished product - as do people and animals. Not sure how the people above do their ballast laying but the technique Mum and I ended up using on Dad's layouts was to pour a little sand between the rails and brush it along until about a foot of track was filled to just below sleeper level, follow that with a syringe full of watery PVA and drip a tiny bit between each sleeper to stick the sand down and to itself. Not. A. Quick. Job!!! Tedious in the extreme TBH.
 
I'll keep an eye on this thread as well as I'd love to have a model railway layout.
 
Ballast is the filling under the tracks, modelled using sand which is held in place (usually) with a droplet of watered down PVA glue. TBH, it's purely aesthetic on model railways but does (I'll admit!) add an extra dimension to the finished product - as do people and animals. Not sure how the people above do their ballast laying but the technique Mum and I ended up using on Dad's layouts was to pour a little sand between the rails and brush it along until about a foot of track was filled to just below sleeper level, follow that with a syringe full of watery PVA and drip a tiny bit between each sleeper to stick the sand down and to itself. Not. A. Quick. Job!!! Tedious in the extreme TBH.
Whatever happened to that grey foam? Or is that for wimps? LOL
 
Following this with interest..

DC or DCC?
 
Whatever happened to that grey foam? Or is that for wimps? LOL

Compared to the sand method, it looks cr@p! It's a hell of a lot easier to deal with though, hence its popularity.

Alastair, DCC. Not cheap but does allow a lot of control over several trains on the same layout (and with well set up locos, can allow two [or more] to push/pull the same train). Much easier to install in larger gauges than N. Some locos have sockets fitted to allow very simple installation of the control chips.
 
N is too small for my clumsy fingers, I prefer the Fleischmann Magic Train as a practical NG scale/gauge combination (continental 0 on 16.5mm) - decent sized boilers for the DCC chips (but no sockets).
 
Speaking as a model railway lover, I, too, shall be following this thread. Sadly, the last time I had a working layout was about 20 years ago due to space and financies (I had an OO gauge system, then sold it for an N gauge one, but went back to OO again). I still have a whole stack of "Railway Modeller" magazine in my hobby room that I haven't got the heart to throw away.
But I would - and could - get back into it the moment I have some space in my little terrraced house, especially since I do have a bit of savings tucked away. I do have an attic but it gets so cold in the winter and so hot in the summer up there, not to mention now needing to fix a leak caused by the recent bad weather, so adapting it to fit a layout in would swallow up my "set budget" anyway.
 
Wow this has gotten some discussion!
I'm glad there are many interested in this. However, now the pressure mounts for me to do a good job!
I'm hoping it will be a DCC as it will give a lot more flexibility. The only trains I have atm as a couple of old DC ones, which weren't mine.

I bought my framing material on Saturday and spent a couple of hours on Saturday and a couple of hours on Sunday fitting it up.
For the long bits, it's two sets of two 75mm x 25mm x 2.4m lengths (for the un-initiated, that's approx 3" x 1" x 8' :)).
They're hung from the hangers at each end and joined in the middle (not perfectly) for anti-sag-ness.

Then at each end there are another two lengths of 75x25 but they're only about 1.9m long.
Then there are a couple of noggins for the long lengths to help prevent flex.

However, it will only be truly firm once I've boarded it over.


I haven't yet drilled the holes for my supply wiring, but that won't take long, I've just got to fix my drill.
My mains drill has started blowing the fuse in its plug after just a few 4mm holes - quite annoying - and my battery drill is awaiting me doing a re-celling operation.

Here are some photos of my framing (again, only taken with my phone). It's not easy to get a decent perspective from the photos (I tried).


IMG_20140201_160401
by Mr_Si, on Flickr


IMG_20140201_160442
by Mr_Si, on Flickr


IMG_20140201_171452
by Mr_Si, on Flickr


IMG_20140202_182856
by Mr_Si, on Flickr


IMG_20140202_182751
by Mr_Si, on Flickr
 
Before you get too far and box yourself in with the framework, I'd look at getting some insulation (and perhaps some boarding) this side of the roof felt.

Have you got a layout plan yet? - apart from a bit of stock and some test track all mine are in my head or scribbled on bits of paper. I'm a fan of 1/2 loco in-steam branchlines, simply because I think they suit a one/two operator team much better than mainline or loco shed based layouts - which seem to be an excuse for train collecting rather than operating! Iain Rice has a lot of good ideas in his books.

My favourite BLT layout plan is one of Lyndon Emery's..


But this local branchline station has captured my interest, and timber may have been purchased before Christmas..
 
I'll have a dig about on some old CDs and see if I've got any shots of Dad's plans and/or layouts. He had (basically) a double circuit with a few crossovers, branches to stations and sidings. We never managed to get electrical de-couplers to work reliably in the sidings so resorted to BHFS (Big Hand From Sky!) His layouts were based on God's Wonderful Railway steam era with a few dieselectrics thrown in.
 
OOh watching with interest. I've just purchased a cheap old Mainline Collett Goods to ease my way back into chassis construction after a long absence (going to convert it to EM gauge with a Comet chassis). I used to mainly model Narrow Gauge and have produced kits and such in the past. I did try pre grouping (Cambrian) in 2mm scale but it's just so small I couldn't get on with it (though I have managed to produce an incredibly detailed etched wagon underframe that's far superior to any commercial offering). I'm now putting together a 4mm collection of local stock, perhaps a very small diorama type layout of a shed scene may follow.
 
Another watcher here!!!
Loved my model trains as a child. Got into it thanks to a friend of my dad who had an attic layout. He gifted me a suitcase of track and rolling stock to get started then shortly after that another friend of my dad gifted me two boxes full of vintage stuff.
Would love to get back into it if space was available.

Got a mint boxed version of this tucked away in a cupboard
4161_l.jpg

Plus this set too
4117_l.jpg

They will never be used thats for sure, they belonged to my mother-in-laws dad.
 
Have a look at the sprog dcc controller, use your PC, phone or tablet as a controller :)
 
Update, no it's not! It's much cheaper, I like that. The one I was thinking of was one being used in lots of model shops last year. I think it began with Z. Ah well, looks like there are more sensible ones on the market now.
 
There were some very promising noises on RMweb about a DCC system that Hornby were bringing out last/this/? year - good price,good features if you're not looking for an over-complicate set-up. I've got a really basic Roco Lokmaus DCC set-up lurking in a box somewhere. Bought on a whim several years ago - extremely basic, but all I need for anything I have in mind.

I can recommend a few evenings browsing RMweb, but don't blame me if a few weeks are spent lurking there..
 
Well, I have drilled the holes in the frame for the supply cabling. I am just going to use 2.5mm twin & cpc cable, but stripping out the two main conductors and getting rid of the outer sheath. I will put the cpc somewhere safe so I can use it in the future for something else.

Also ordered some 9mm ply - not all of it but quite a lot. I have 6 pieces of 4ft by 2 1/2 ft as that's the widest I can get through my loft hatch. It's getting easier to see its size now. More photos soon.
 
Sounds interesting Simon!
I'd love to do this but I have neither time, money or a loft space big enough!
I do have a lot of boxed Hornby OO gauge trains from the late 70's and early 80's and a bit of track.
Must be at least ten main line locos (ie train plus tender), four or five shunting locos and a couple of diesel electrics all sat in boxes waiting to be, possibly, used.
Though this may change if they sit there long enough and become valuable!
Anyone got an idea what they'd be worth?

Must not get too drawn into another hobby by reading the forums linked up there^^^^^ !!!
 
I had a clockwork train set about 20 years ago, no batteries or mains transformers, just wind it up and put it on the track, I think it was 00 gauge.

:)
 
I managed to get a bit done once I'd finished fitting a new shower over the weekend (what a nightmare).

I've fed in the power supply cabling now and laid a few boards (2.5ft wide).

Here are some more photos (again, taken with a phone and badly! but you get the gist I hope).

One of the supply cabling:

Untitled
by Mr_Si, on Flickr

The boarding in place (gives more of a perspective now):

Untitled
by Mr_Si, on Flickr


Untitled
by Mr_Si, on Flickr


Untitled
by Mr_Si, on Flickr


The underside of the boarding showing the supply 2.5mm2 cabling. It's not fixed in place yet as it needs a few more supports.

Untitled
by Mr_Si, on Flickr
 
I am really loving this thread.
I have a loft, but it has a very shallow pitch on the roof, so it is only possible to stand up in the middle. Mind you, that probably makes it ideal for a train set as it couldn't be converted into living space.
I once thought about putting a large slot racing circuit up there, as I never sold the mixture of Scalextric, Airfix and Riko stuff from my youth.
 
Slot racing's cool. I never really knew much about it and thought that there was only standard scalextric until I went to Sandown Model Symposium & Display back in the 90s (back when it was good and had loads of variety) and they had an 8 lane racing thing going on. I thought that was amazing.
 
For anyone interested, Scalextric can be DCC controlled.
 
Back
Top